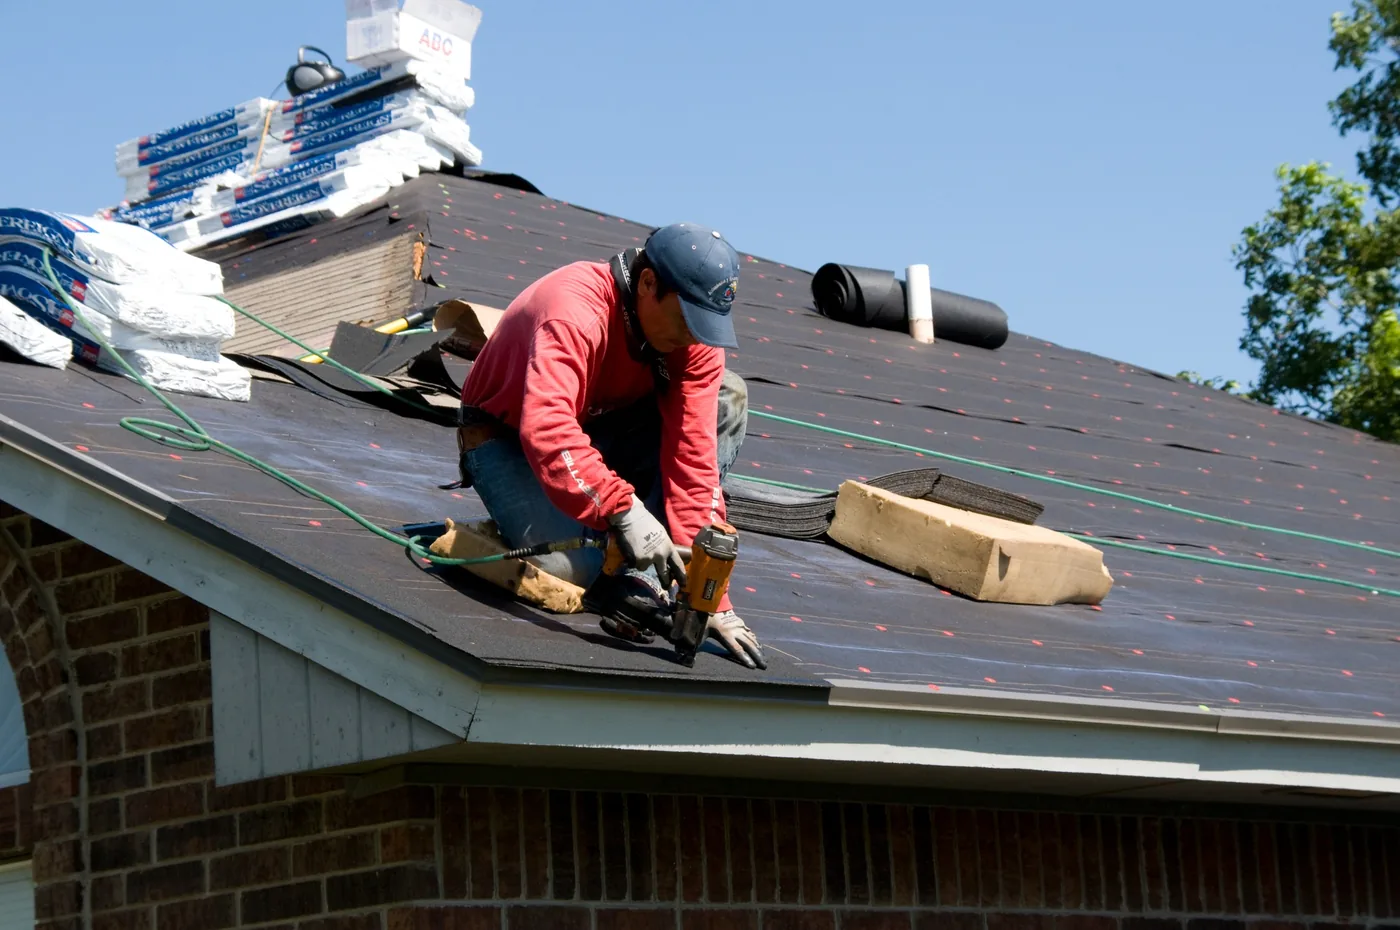
Roof replacement

Roof Replacement: A Complete Homeowner Guide

A roof replacement is a complete roofing-system project—not simply installing new shingles. This guide explains the decisions homeowners should understand before signing a contract.

What a full roof replacement actually involves

A replacement typically begins with evaluation of the existing roof and a written scope. Depending on the contract, work can include tear-off, disposal, decking evaluation, underlayment, flashing, ventilation components, roofing material, penetrations, edge details, cleanup, inspections, and warranties.

The exact scope matters because two contractors can both say “roof replacement” while proposing materially different work.

Signs that replacement deserves consideration

Widespread deterioration, recurring water intrusion, large areas of missing or damaged material, deteriorated flashing, sagging, repeated problems across different roof areas, or extensive storm damage can justify a professional evaluation.

Age is useful context, but it should not be the only reason to replace a roof. A qualified evaluation should consider actual condition, installation, ventilation, structure, and performance.

Step 1: evaluation and measurements

A provider generally evaluates roof geometry, slope, penetrations, access, existing layers, visible condition, and approximate quantities. Interior or attic observations may also be relevant when moisture, ventilation, or structural concerns exist.

House square footage is not the same as roof surface area. Pitch, overhangs, garages, additions, dormers, hips, valleys, and waste factors affect roofing quantities.

Step 2: comparing written proposals

  • Exact manufacturer and roofing product
  • Number of existing layers and tear-off scope
  • Underlayment and water-protection components
  • Flashing at walls, chimneys, valleys, and penetrations
  • Decking inspection and per-unit replacement pricing
  • Ventilation work
  • Drip edge and roof-edge details
  • Permits and inspections when applicable
  • Debris removal and property cleanup
  • Manufacturer and workmanship warranty terms
  • Payment schedule and change-order procedure

Step 3: choosing roofing material

Asphalt shingles are common because of broad availability and product choices. Metal systems can offer long service life but vary substantially by panel/system. Clay and concrete tile provide a distinctive system but weight and structural suitability matter.

There is no universal “best” material. Suitability depends on roof design, climate, structure, budget, appearance, local requirements, maintenance expectations, and installation quality.

Step 4: tear-off and decking

Removing old roofing exposes the roof deck. This is when concealed deterioration may become visible. Ask before work starts how damaged decking will be documented, priced, and authorized.

A low initial estimate can become difficult to compare if decking terms are vague. A clear unit price or change-order process makes unexpected conditions easier to manage.

Step 5: water-management details

Underlayment, flashing, roof-to-wall transitions, valleys, penetrations, skylights, chimneys, vents, and roof edges are critical parts of the system. Roofing material alone does not manage every water path.

Ask the provider to identify which flashing will be replaced, reused, or modified and which underlayment products are included.

Step 6: ventilation

Roof replacement is an opportunity to evaluate intake and exhaust ventilation. Attic configuration, insulation, roof design, local code, and manufacturer requirements can influence the approach.

Ventilation should be treated as a system. Adding a single vent type without considering intake and exhaust balance may not address the underlying issue.

Step 7: installation-day preparation

Move vehicles and portable outdoor items when requested. Discuss landscaping protection, material delivery, dumpsters, gates, pets, children, exterior equipment, and fragile wall or shelf items that could be affected by vibration.

Roof replacement is noisy construction. Homeowners who work from home may want an alternate plan during tear-off and fastening.

Step 8: final walkthrough and records

Review the agreed scope and approved changes. Ask for the final invoice, warranty information, product details, permit/inspection records when applicable, and any required manufacturer registration information.

Keep contracts, photographs, change orders, payment records, warranties, and product information together for future reference.

Questions worth asking before signing

  • Who is legally responsible for the project?
  • Who will supervise the installation?
  • Are employees or subcontractors performing the work?
  • What happens if concealed damage is discovered?
  • What exact products are included?
  • What flashing and ventilation work is included?
  • Who obtains permits when required?
  • What does cleanup include?
  • What warranties apply and who provides each one?
Before hiring: Verify licensing and insurance required in your location, compare the complete written scope, and read contract and warranty terms carefully.